Door Sill Accent Stripes
|
STEP ONE:
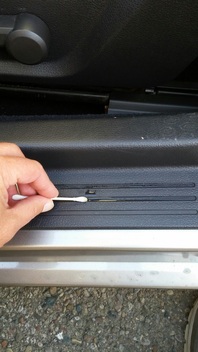
Clean your door sill groves First clean with dishwashing liquid, rinse and dry. Use tooth picks, Q-tips, etc to get into the cracks and edges. Spray them down with a decent degreaser or Power Clean, scrub and re rinse and dry. Make sure there is nothing caked in the grooves. I used rubbing alcohol for my final prep. Simply wipe it on and wipe it back off. |
|
STEP TWO:
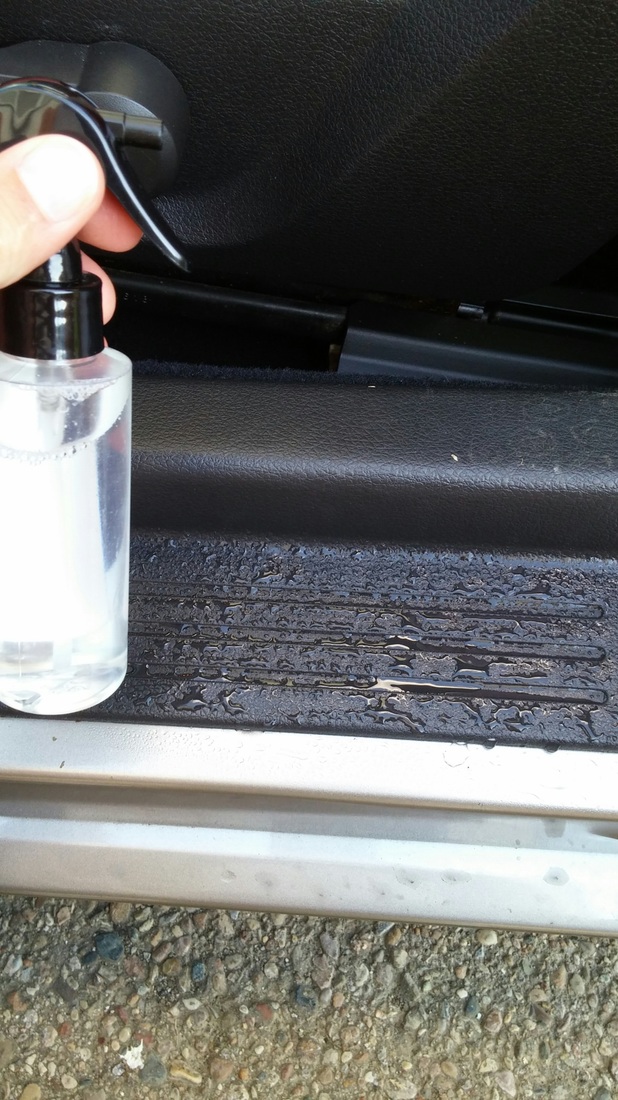
adhesive prep Mix 4 drops of dishwashing liquid to ONE gallon of water and transfer to a spray bottle. (You will not need a full gallon for one car so reduce as necessary. 2 drops to 1/2 gallon of water, etc.) Spray door sills liberally with mixture. Make sure the area is WET not just damp. This will make the stripes easier to set. |
STEP THREE:
Set stripes in groves
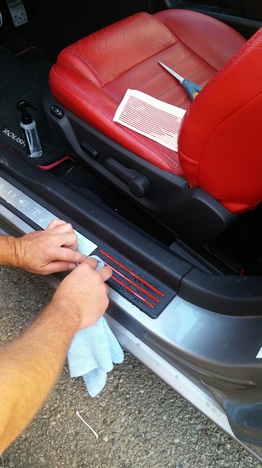
Set all 3 stripes as you want them. Rounded vinyl ends point towards the edge of the door sill. **It maybe necessary to trim the non rounded ends in order to fit in the grooves. A pair of scissors will do just fine.
Set stripes in groves
Set all 3 stripes as you want them. Rounded vinyl ends point towards the edge of the door sill. **It maybe necessary to trim the non rounded ends in order to fit in the grooves. A pair of scissors will do just fine.
STEP FOUR:
Attach the stripes
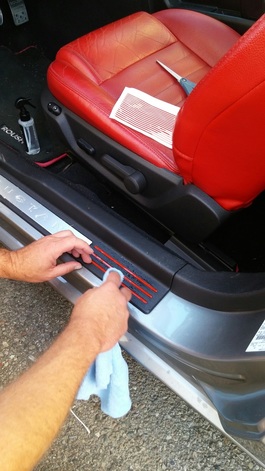
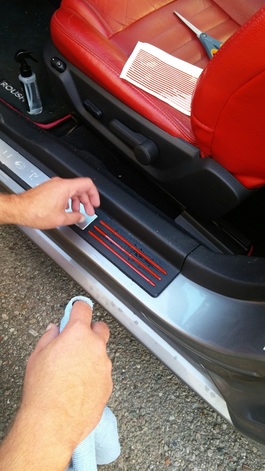
Start putting your finger on inside edge to hold it while your squeegeeing the water out. Take a microfiber towel in the other hand and swipe from the inside to the outside along the length of the stripe using slight pressure to force the water out from underneath the vinyl as you go. Repeat this process at least twice for each stipe, doing one stripe at a time.
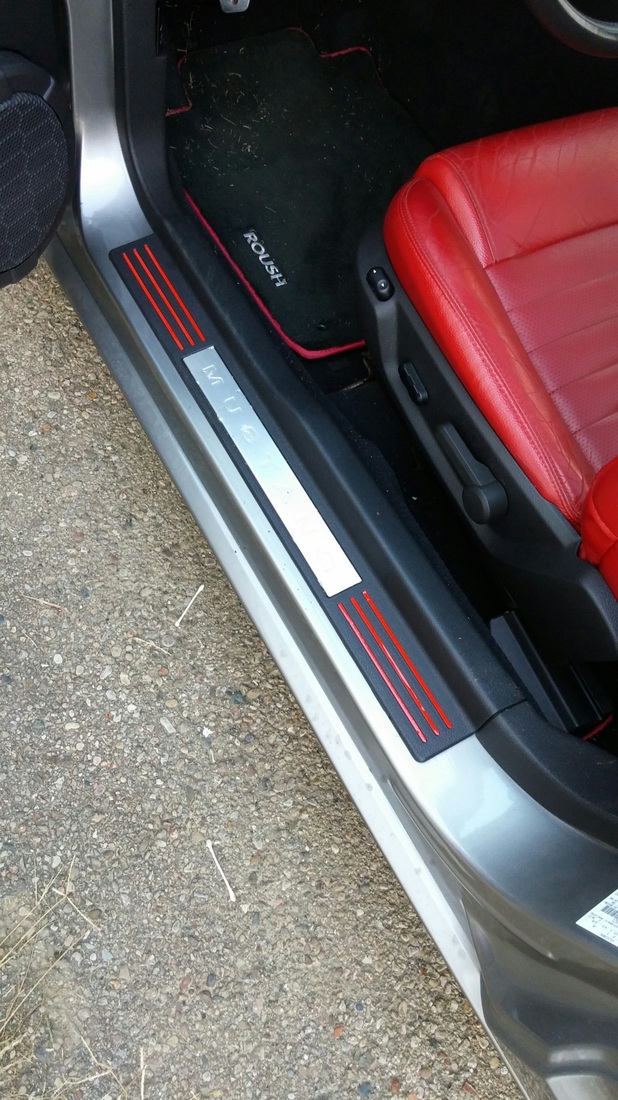
Repeat the entire process for the other side and the finished product should look like this.
Repeat the same cleaning and prep process for the Mustang lettering.
Wet the area with your soap/water mixture.
Line up your first letter how you want it.
Use a Q-tip to hold the letter in place and press down on to the vinyl with a microfiber towel to squeeze excess water from underneath the letter. Repeat this step a second time to insure all the excess soap/water mix is removed before moving on to the next letter.
