Suspension
We are starting with suspension as the first stage which is also the most difficult mod to do and balance correctly for a daily driver. Although many of you will disagree with me here, this is the best bang for your buck because you kill two birds with one stone and lay the foundation for all future mods. By first addressing the suspension, you eliminate a huge amount of body roll, brake dive and squat, plus we'll eliminate the 4x4 look that comes free from the Ford factory. Beginning your transformation with the suspension will help make best use of whatever mods you may already have. I've broken everything down in to three sections, the first section being the largest investment and also the most important.
Springs and dampers
This is the most costly part of suspension modification, the most important and also the most effective. You can go one of 3 ways here:
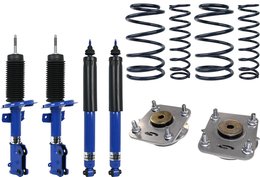
Sport springs and adjustable shocks which is the least expensive ($600-$3000)
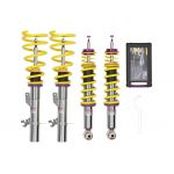
Fully adjustable coilovers ($800-$4500)
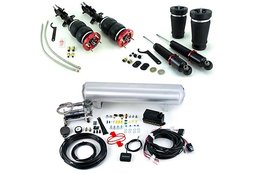
Full Airbag suspension ($1000-$6000)
This is the most costly part of suspension modification, the most important and also the most effective. You can go one of 3 ways here:
Sport springs and adjustable shocks which is the least expensive ($600-$3000)
Fully adjustable coilovers ($800-$4500)
Full Airbag suspension ($1000-$6000)
Air bags
We'll first touch on air suspension since it is the best of both worlds, provided your wallet goes that deep. Instead of traditional springs, this system uses air bags that can be pressurized to increase/decrease the desired ride height. When done correctly with the supporting sensors and mods, this set up can easily match the handling and traction of tried-n-true coilover or spring/damper set ups. Air bag suspensions are popular with the show crowd due to the ability to drive to a cruise in, then simply push a button for a slammed look. Here's the pros and cons:
|
Pros
In-car ride height and handling adjustability Prevents chassis and body work damage (chin spoilers, etc) Adapt to weight changes Does not sacrifice ride quality Fully adjustable spring rates on the fly |
Cons
Extremely expensive Added weight Permanent chassis modifications may be required Complex and extensive installation Cost to maintain and trouble shoot when something breaks |
Coilovers
Next up, we have coilovers. Like the name implies, this simply a coil spring over the damper much like the front spring set up from the factory. This system has the reputation for being the ultimate set up to have on you car but this is false in most cases for two reasons. The first reason is simply cost. Quality, fully adjustable coilover system prices can rival that of an air suspension and even surpass them in price. Secondly, these systems are very difficult to properly dial in. it is not uncommon to spend hundreds or even a thousand dollars to have the system tuned. If you have the suspension know how, tools and actually track the car frequently, then this may be the best set up for you. For most of us, meaning 99.9% of those reading this, the next option is gonna be the best setup for your car and your budget.
|
Pros
On-car fully adjustable Unbeatable performance when properly set up Weight savings Great street or track versatility |
Cons
Quality is expensive Very costly to properly dial in Better systems are usually not direct bolt-on Expensive to repair |
Coil springs and damper systems
Putting together your own suspension specifically tailored to meet YOUR needs and goals is the best way to go. This sounds like a lot of work and technical knowledge, but really its pretty easy once you understand the basics. For those intimidated by piecing your own system together, companies like Steeda, Roush, Ford Racing and many others sell pre-matched component packages taking the guess work out of it . Before purchasing springs, it is essential to be sure your car will clear your driveway apron, speed bumps in your parking lot at work, and other places that you frequent with your Mustang.
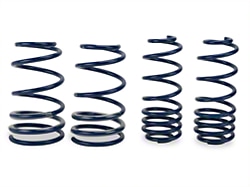
We're gonna start with selecting coil springs since this will be the foundation of your suspension build. Springs serve two major functions, they isolate the driver from bumps and potholes and serve to keep the tires planted to the road in order to provide traction. A particular springs "spring rate" is the amount of force measured in pounds to make the coils compress one inch. You can use the spring rate of a particular product to determine how harsh the ride will be. Coil springs are commonly used to reduce the amount of wheel gap from the factory setup and lower the center of gravity to make better use of all four tires when launching, braking and cornering.
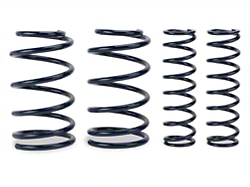
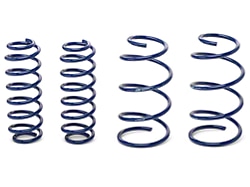
There are essentially three kinds of coil springs to choose from: Comp(Racing-track or drag) Sport or Progressive.
Progressive springs are used more as an appearance mod rather than for performance by most owners. It is not uncommon to see this as the only suspension mod on most cars. Progressive or "Ultra lite" springs typically have two different spring rates, a lighter rate at the top and then a heavier rate at the bottom of the spring. These springs can be more effective than sport springs simply because the increased spring rate as compression occurs helps reduce body roll, however, there are draw backs. The tightly wound coils near the bottom of the spring make these more prone to binding. Also worth mentioning, the two different spring rates are only compatible with a set amount of weight in the car making these a tricky option for a daily driver. Because of the two different spring rates, this can make cornering less predictable and consistent too.
Let's say you put progressives on your car and these are rated for the average driver and a full tank of fuel. What happens when you slap a super charger under the hood, relocate your battery to the rear, put a bottle of spray in the trunk, or add a set of 12" subs and amps? The average driver is 180lbs, what if you weigh 250lbs? What if you add a passenger or two? These are all weight changes that will affect the performance and unpredictability of this type of spring!
Sport springs feature a linear increasing spring rate throughout the compression stroke that offers predictability as it is compressed but will be more noticeable over larger bumps in the road. Most drivers find these comfortable enough for daily use and they are well suited for track days or the impromptu street race. Sport springs are also most consistent on the track as the compression rate doesn't change under different loads, making these ideal for our build.
Comp racing springs are exactly like they sound. Drag springs will make your Mustang handle like a cow in the corners and comp track springs will simply beat the shit out of you on the street. Despite this there are many different styles, springs rates and ride heights available comp springs.
|
Pros
Pre-matched kits to suit your handling goals Way less expensive than coilovers or air bags Individual components are cheaper to replace or upgrade System can built to YOUR specific application and goals |
Cons
Over whelming amount of choices and styles No on-car height adjustability Premature wear on factory dampers Spacers are used to control rubbing with wider tire sizes |
Shocks and Struts (Dampers)
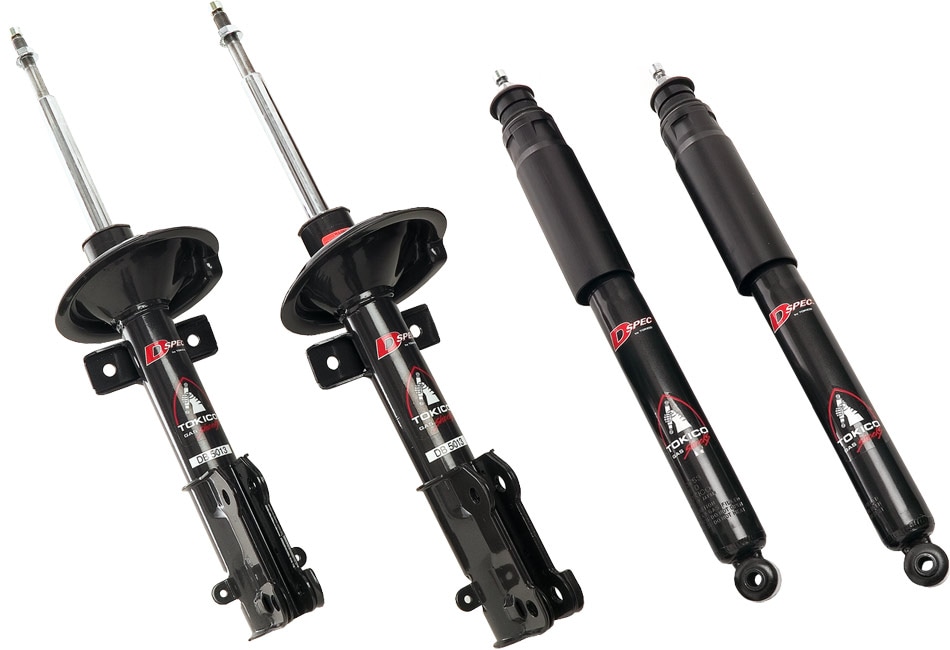
Dampers control the rebound force created when springs are compressed. Your Mustang suspension is comprised of a set of struts up front and shocks out back. Without dampers, your car would keep bouncing when it hits a bump since there is nothing to control the decompression rate of the springs. Shocks and struts are little more than hydraulic oil pumps. Without getting too technical, they are tubes filled with oil in which a piston slides up and down inside a tube. As a cars suspension travels and dampers are compressed or extended, oil is pushed thru chambers or baffles. Baffles are used to control the speed and flow of oil inside the tube and determine how quickly a cars springs will decompress or rebound after going over a bump.
Choosing dampers is much easier than selecting springs. If you've upgraded to a lowering spring then you absolutely need to upgrade your shocks and struts. The reduced travel puts the dampers constantly under more pressure and will wear out your factory ones very quickly, forcing you to upgrade either way. Dampers are broken down into two simple groups, adjustable and non-adjustable.
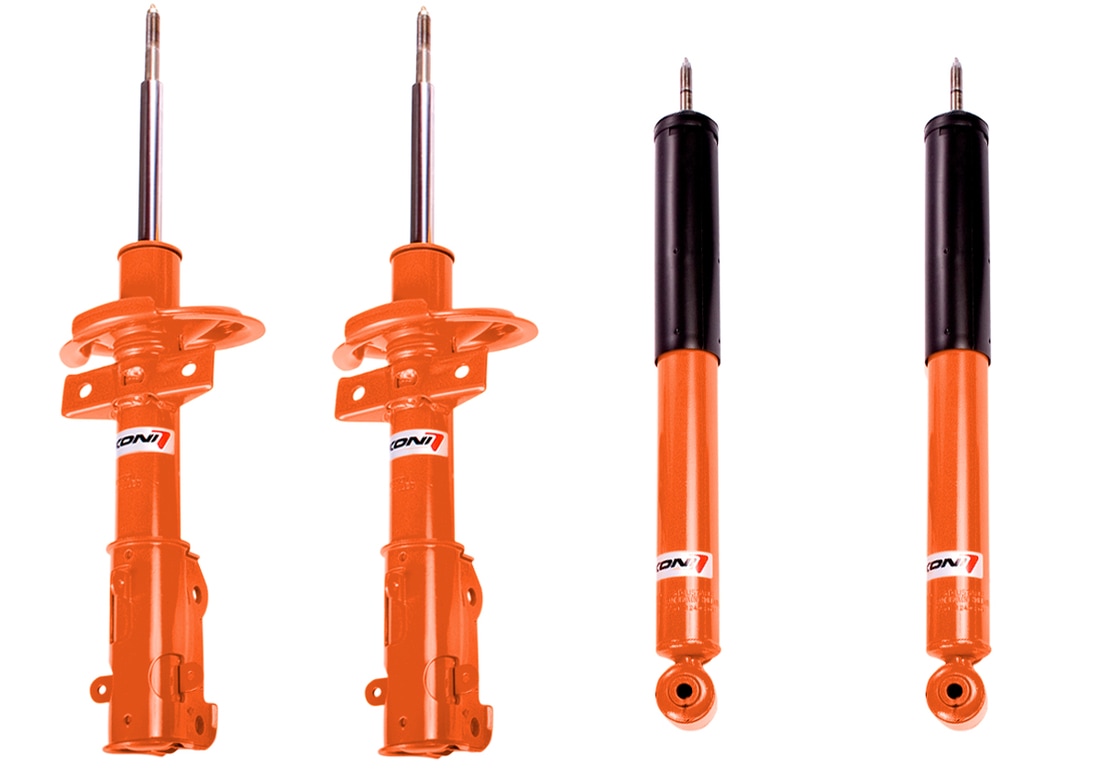
Non-adjustable dampers are pretty simple, they have a fixed rate of travel and need to be matched to the type of spring you are using. There are basically two versions of this type of damper, factory OE spec designed to work with original equipment style replacements and fixed "sport" dampers. A great example of a fixed sport dampers is the Koni Orange, these can be paired with many types and brands of springs. They provide decent control of most aftermarket springs, help with body roll and sacrifice very little in the way of ride comfort.
Adjustable dampers come in two different flavors, single and dual adjustability. Dual adjustable dampers are for competition use and a bit of overkill for what we are doing here. They will work for a street application but to put into perspective, using these for a daily driver is like giving away dental floss at a Willie Nelson concert. Don't waste your money
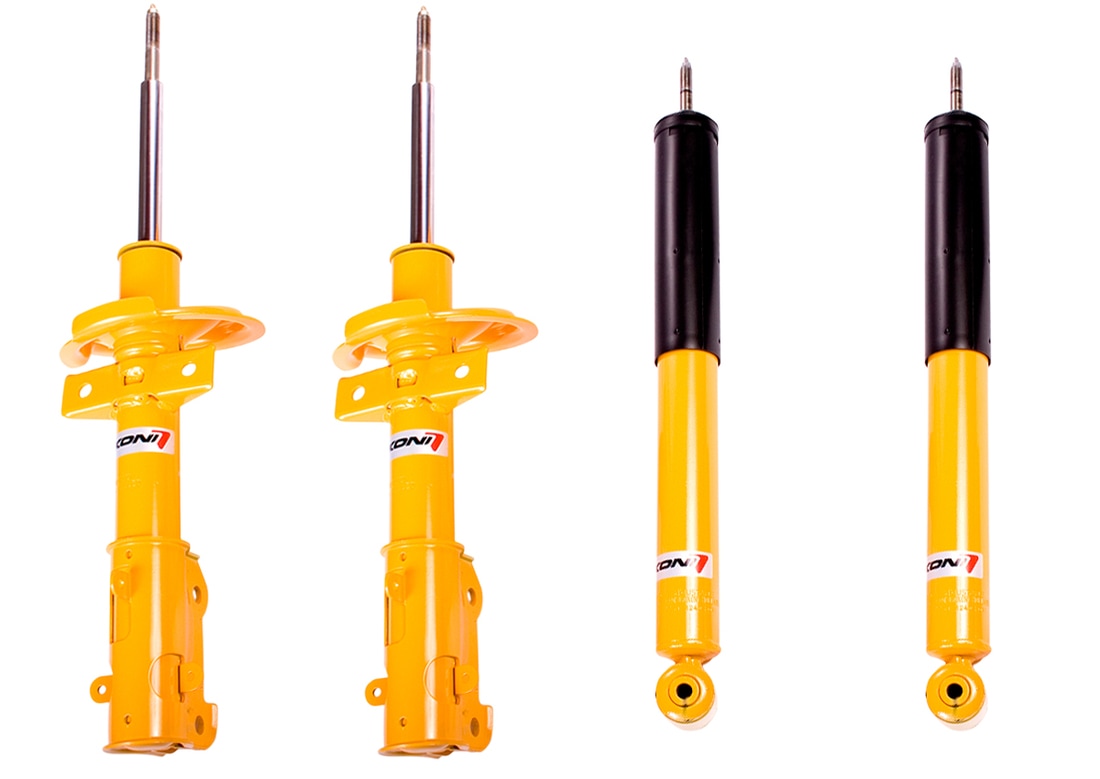
Single adjustable shocks and struts are the simple answer we are looking for and will be the best match for almost all street driven applications. These dampers are adjustable on the rebound only and take a lot of guess work out of setting them properly. Koni Yellows are by far the most popular adjustable shock for the Mustang, with offerings from Ford Racing and QA1 right behind. When choosing a set of adjustable dampers be sure to pick a set that is adjusted from the top as opposed to the bottom unless you don't mind crawling underneath the car to adjust them.
Doing it the right way...
Lowering your car changes your toe and camber angles while riding level and also by altering the arc of motion that the wheels can travel during compression and rebound. Having said this, there are still a few more parts you need to do this correctly the first time and avoid a lot of headaches. If you plan to lower your car without the supporting upgrades, you are in for a huge surprise in the form of sloppy road manners and pre-mature tire wear. More information is available for each part by clicking the links.
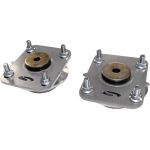
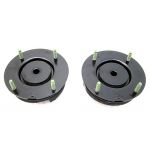
Caster/Camber Plates ($200-$400) these are essential when lowering your car more than a half inch. While you maybe able to get away with camber bolts for a little while, they are not a long term solution and offer very little adjustment. Caster/camber plates offer the adjustability and reliability we are looking for with our build for the long term. Most quality made plates include upgraded strut mounts.
Upper Strut Mounts ($90-$160) bottom line here, the factory mounts don't hold up well after lowering. I re-packed the bearings in mine and reinstalled them but they started popping well within the first 3000 miles. On top of having to remove everything again to replace them, I also got stuck with waiting for the suspension to settle a second time and then paying for another alignment. Do it right the first time, upgrade to the firmer ones.
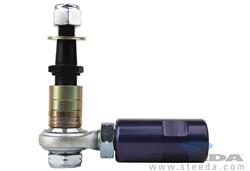
Bump Steer Kit ($110-$300) is necessary for most cars straight out of the factory. This is especially true and a Must Have for cars that have been lowered. This piece is little more than a two-way adjustable tie rod end with vertical shims. When you lower your car, the arc that the suspension travels is changed, which also changes the toe angle unfavorably when the suspension compresses. This can have a huge impact on handling on a road that is anything other than completely smooth.
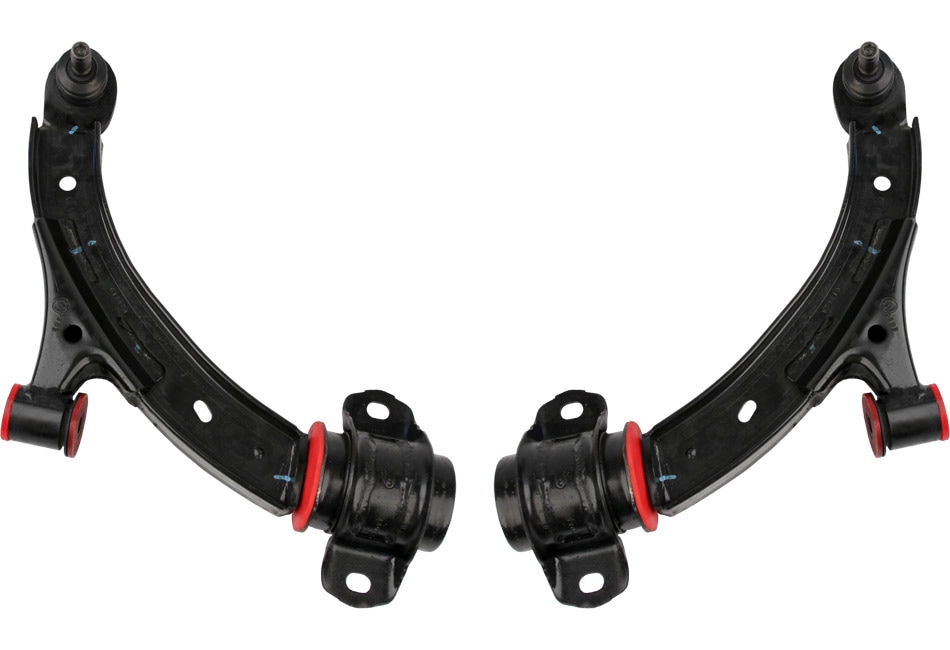
Front Control Arm bushings ($115-$600) while your under the front of the car, replacing these are essential to get the front of the car aligned properly. The ones on your Mustang now are seven years old or older, made from rubber and very likely deteriorated unless you car is a super low mileage garage queen. Rubber breaks down over time even with out being exposed to salt, oil and other road hazards. If you've racked up over 60,000 miles upgrading the entire control arm with a set of lighter and tighter Boss Comp control arms with ball joints to insure against future problems is a money well spent.
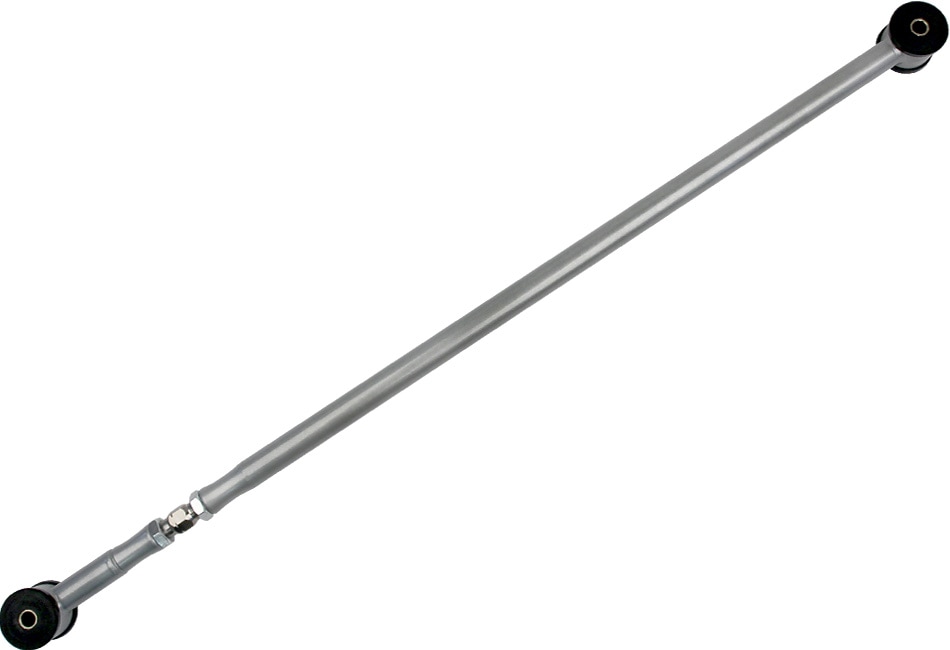
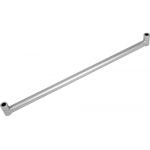
Adjustable Panhard bar ($100-$300) again is a necessity in order to square up the rear axle on a lowered mustang. With an average 1.5" drop your mustangs rear end will be off center by as much or more than 2" to the passenger side. It doesn't take a genius to see how this can be bad on a hard launch or in the corners. You can purchase these alone, with a stiffened brace as a set and there are also competition versions. If you're serious about keeping the rear axle under the car, then you can also go with a Watts Link setup which we'll touch on in the last section.
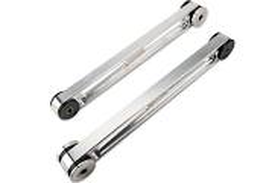
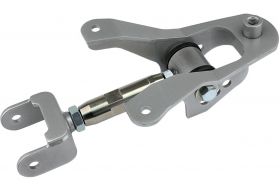
Adjustable Rear Upper or Lower Control Arms ($80-$400) You will actually catch a break on these as only one, either the upper or lower control arms, need to be adjustable to correct the pinion angle on a lowered car. Having the correct pinion angle is necessary to keep the bearings where the back of the drive shaft and rear end meet within tolerance. Skipping this will cause premature wear on the bearing race which makes a whining sound under load, things go down hill quickly from there.
Here are some other things to consider before purchase. The upper control arm is more difficult to access for adjusting, but you only need to adjust one piece and it can be more finely tuned. Lower control arms are easier to adjust but you have to adjust both sides and box framed LCA's require welding the adjustable mounts to the car. As for the question of which one should be adjustable, that's purely a matter of opinion. I went with an adjustable upper and fixed lowers, but adjustable lowers and fixed upper is just as effective. Either way you want to replace the stock upper and lower hardware. Also when replacing the upper control arm be sure to get a heavy duty mount as this will help stabilize the side to side motion of the rear axle.
There are many options when it comes to control arms which we'll quickly run through below. After springs and dampers, these are the most important pieces of hardware used to eliminate wheel hop.
Stamped steel- are not adjustable and are the same as from the factory. Avoid these if you want to make any progress.
Boxed style control arms- These are fixed and usually machined out of aluminum making them much lighter and stronger than the factory pieces. This style can be used with special mounts that have pre-punched holes in them for limited adjustability.
Tubular- This is the standard in racing application, work well on the street and are easily adjustable. The higher quality ones are lighter and just as rigid as aluminum box style.
There are also a few bushing options for control arms and other suspension joints. Though I mention these last, they will play a very significant role in your suspension build. The first type is rubber bushings, these are great for comfort and isolating the driver from vibrations. Due to their flexibility and compliance, they are not ideal for increasing traction or handling. Next we have Polyurethane bushings, these are much more rigid and a little bit harsher than rubber but are the best compromise between rubber and spherical bearings. Spherical bearings are actually a metal ball socket, kind of similar to a ball joint in their movement. Although great for the track, these offer very little advantage on a street application and also add an extreme amount of noise and harshness. A few companies like Steeda and a few others also offer Delrin bushings, these are similar to poly bushings except a whole lot firmer. Unlike spherical bearings, they are not too noisy but you can expect the same beating when going over bumps. As with spherical bearings, these are best suited for track only applications or those who have a chiropractor in the family.
The point to here is to express the importance of installing all these parts at once which will actually save you time and money. Most owners cannot afford to purchase all these parts at once, so they buy a few items at a time and install them all at once. This approach makes the most sense because it will save you a huge amount of money on alignment and shop charges if you don't plan to do the install yourself.
Finishing off your suspension build
This is the second phase of your suspension build and will turn your Mustang into the corner carving machine that it should have been from the factory. In this section we are going to finish addressing body roll and make better use of all four tires while cornering.
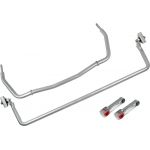
Sway Bars- ($150-$400) Where coil springs or air suspension control up and down movement of your car, sway bars help control the lateral side to side motion during cornering. Most aftermarket sway bars are adjustable via holes drilled at the ends which you simply move the end links to the desired setting.
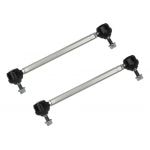
End links- ($60-$200) Using stiffened sway bars without upgrading your end links will not allow you to fully capitalize on sway bar upgrades. These come in two forms, adjustable and non-adjustable most feature poly bushings. The non-adjustable pieces will work fine for our intended goals and the adjustable versions will allow finer tuning if desired and reduce noise slightly.
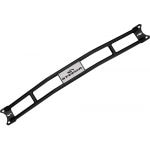
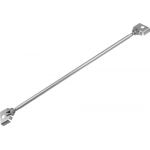
Strut Tower Brace- ($120-$250) Unlike everything above that have talked about, this part will actually reduce NVH in the front end and reduce cowl shake over rough roads. Cowl shake and chassis flex are both huge problems in a convertible, so if you got a ragtop, then this piece is an absolute must!
G-Brace- ($70-$120) Your Mustang already comes with one of these from factory (on 2007 and up) located underneath the car behind the oil pan. This ties the K-member together to help with chassis deflection under load. The stock part works fine, so there is little need add one unless you have 2005-2007 Mustang or drive a vert. This piece fits behind the factory one so you can actually use the stock one in conjunction with an after market one for a negligible difference in steering tightness. Pass on this if you have 2007-2010 model.
Rear Shock Tower Brace- ($80-$160) This is just like the above mentioned strut tower brace but goes on the rear shocks, in the trunk. This part will help to stiffen the rear but not as well as an X-brace which requires a rear seat delete kit if you plan on going that route. This is part will help tighten up rear body roll but is not a necessity for our build, especially if using watts link or frame rail brace.
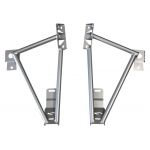
Torque Box/Frame Rail Brace- ($150-$400) Even though this adds weight and requires welding, I consider this a necessary evil for any car that sees the track or uses sticky tires. If you drive like John Force or one of his lovely daughters on regular basis, then this is a Must Have modification. The stock torque boxes are pretty flimsy and will not hold up well if you love to launch the car at stop lights frequently. Pair this with the likely fact that your still running the factory lower control arms with the rubber bushings all beat to Hell and you can easily see why this needs to be addressed.
Once this phase is complete you've shaved almost 80lbs from your Mustangs' curb weight! On top of putting all four tires to better use while cornering and braking, the better traction has dropped your quarter mile time by a half second or more!
I know most of you are wondering about alignment specs . I save you the sob story of my personal trial and error and skip straight to what I found to be the best settings. Keep in mind that I drive like an asshole, so when I deem it safe to do so, I light the rears at red lights and take corners like Michael Schumacher on methamphetamine!
It is important to use a reputable shop for the alignment. The local Firestone and the grease monkeys they try to pass off as mechanics will not get the job done for you. This usually applies to many Ford dealers as well so beware. Most shops will only adjust the car to "within specs" which is simply the manufacturers acceptable range, not the preferred specs. Go above and beyond to find a competent shop to align it to your exact specs or else you're throwing away $150.00, not to mention accelerating wear on your new components.
Up front:
Toe angle 0.10-0.15 degree of TOTAL toe in
Camber -1.4 degrees negative
Caster 7.1 degrees positive
Out back
Centering the axle is critical!!!
Toe angle -0.10 toe out- *This needs to be even on both sides and is only possible to do with adjustable control arms by manipulation of the turnbuckles.
"STOP!!! Pull over right now. This car handles way to awesome, I don't like it..."
...said no one EVER!!!
This last section is for those of you that believe more is better and aren't afraid to reach deeper into your pockets to get the edge. Your Mustang's handling will always be somewhat limited due to it's solid rear axel axle, but there are a few remedies to this problem to keep you competitive with world class cars.
The first option is a Watts Link set up. This option is the easiest on your bank account at $800-$2000 and also easy to install and maintain. A Watts Link works by using three rods, two of them equal length with 4 pivot points to keep the rear axle squared up for longer range of travel than the standard panhard bar. This set up doesn't use a single semi circular arc in its range of motion like a panhard bar, it actually uses two semi-circular arcs that follow a elongated slight "S" shape in their range of travel. The contrasting motion in the Watt's Link system keeps the rear differential centered under the car while the suspension travels up and down when cornering.
When you cant beat them, join them. The second option is to install and IRS- Independent Rear Suspension in your Mustang. This is extremely costly and there are no options as far as a direct bolt in goes. Summit Racing and Jegs both offer a universal fit IRS system, along with Maximum Motor Sports or you can check out Duane Carling at Mustangirs.com for his version of the IRS specific for S197 Mustangs. The real drawback here is the cost, you are looking at a minimum entry price of $9,000 for the system alone not including labor or other hardware conversions necessary to complete the job. The Watts Link will come relatively close to this in performance for less than 20% of the cost.
Hope you enjoyed this so far,
Will
Part 2 Adding Power coming in next month...
